Keeping myself busy during the coronavirus shutdown, like everyone else…
These days, I have had time to take on some of the projects around the kitchen that often get pushed back or get forgotten. One such project is keeping all the kitchen knives sharp.
For lack of time to do it themselves, many cooks have their knives sharpened by a professional knife sharpener, who typically use a power grindstone for the job. There are even mobile sharpeners who, in normal times, stop by the restaurant every month and offer their services to the crew (for a fee, obviously!). My personal feeling is that sharpening knives with a power grinder is risky, especially expensive or carbon steel knives. Sure, you end up with a very sharp edge and a mirror like finish. On the down side, a power grindstone in the hands of the wrong person can take off too much steel during the sharpening and even change the profile of the cutting edge. I vividly recall a Paris kitchen where the chef had his own power grindstone. Over the years, all the kitchen knives had been systematically whittled down until only a thin ribbon of steel remained. It was like preparing food using a hacksaw blade!
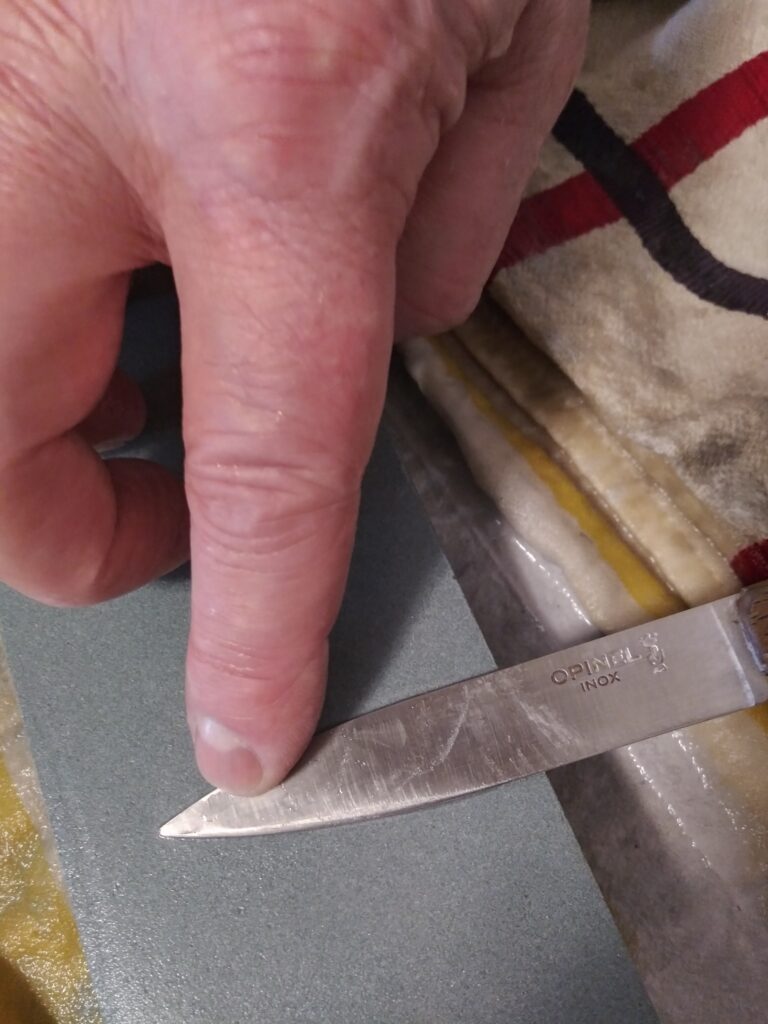
Although the knives I use are not necessarily expensive, they are well made and have been with me for a lot of years so I have developed a functional and sentimental attachment to them. For this reason, I choose to sharpen them myself using a whetstone. Whetstones are basically manual sharpening devices that you run the knife over repeatedly to make the cutting edge sharp. They come in different grits from fairly rough for initial shaping of the edge to finer grits for finishing. The manufacturer of the whetstones I use recommends soaking them in water before use. This type of whetstone is often referred to as a water stone. Whetstones also exist that need to be soaked with oil, or that don’t require any soaking, so be sure to read the instructions on whatever whetstones you purchase.
I have 3 whetstones with grits of 400, 1000 and 4000 (lower number = rougher grit, higher = finer). Unless a knife has become very dull or has dings or notches in the blade, I usually can get a good edge by starting with 1000 grit then finishing with 4000. Even for very dull knives that need time with the 400 grit stone, the entire process usually takes less than 10 minutes.
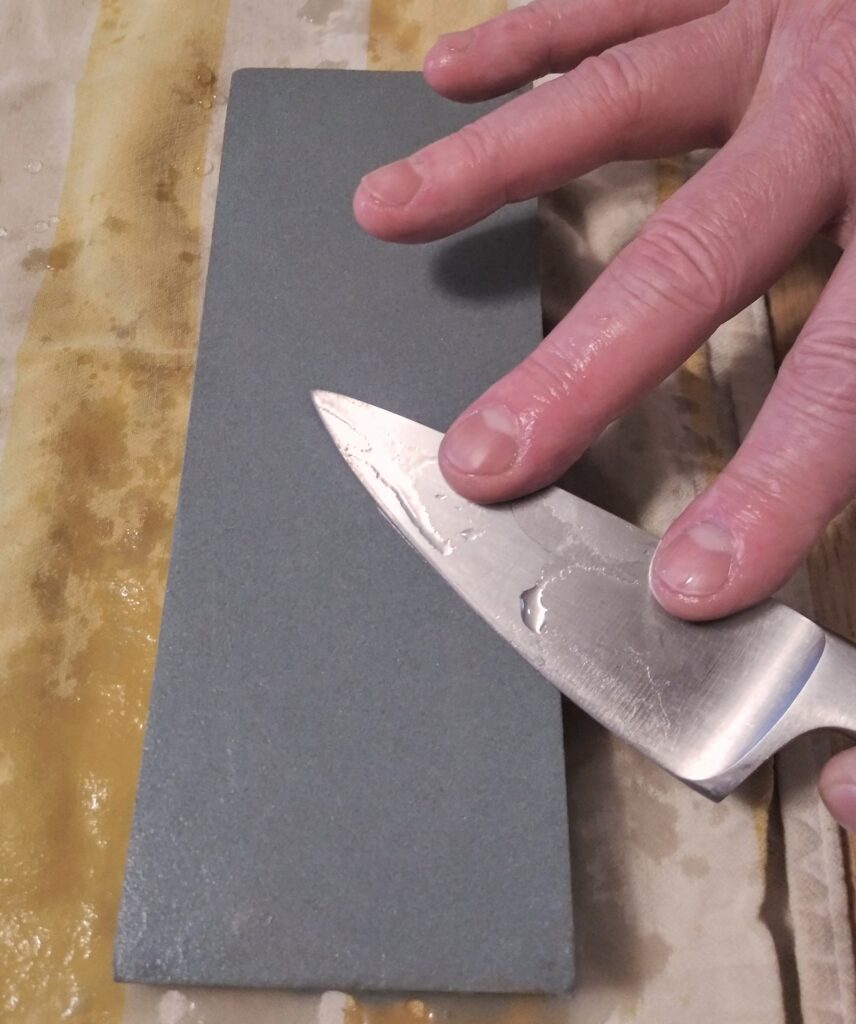
It is not my goal to give a full course on sharpening with a whetstone here, but it is not difficult to learn. It just takes a little practice and patience. I taught myself how to do it by referring to a 1930’s era guide to sharpening garden and shop tools that I checked out of the Seattle Public Library. At first my work was pretty shoddy (don’t start out on your favorite knife!), but with a bit of experience, I was able to get a good result quickly. I think that this guide from Cooks Illustrated gives a pretty clear idea of the process.
For me, the best thing about hand sharpening with a whetstone is that you feel like you are in control of the process. As you work the blade, you feel the dings and notches smooth out and the edge develop. You begin to gain insight into how the edge is shaped and how it works in cutting. You come to an understanding with your knife, which I think is important in a manual craft like cooking. It is still true that the knife is the most important tool of a cook, in spite all the more recent inventions and gadgets. And there is something comforting about that.
Note: There is a saying among professional cooks that you always cut yourself the day after you sharpen your knifes. In other wards, BE CAREFUL!