Haven’t you always wondered how to make a sour bread starter? Are they hard to make? Can you keep them for a long time? What does a sour starter actually look like? Although I have a fair amount of experience with baking bread, I had never tackled this particular aspect of bread making and therefore had very little idea as to what it involved.
I think that my curiosity about sour bread starter began in grade school history class, when my teacher described the sour bread starters kept by early pioneers in the American West. According to her version of historical legend, everyone from pioneer wives on the Oregon Trail to 49ers in the California Territories made their own sour starter and carefully guarded and renewed it so that they would always be able to make bread without the use of yeast. I had a vague picture in my mind of an old, strong smelling piece of bread dough carefully wrapped in a dirty cloth and stowed in the saddle bag of a grizzled miner on his mule. But never since then have I actually made a sour starter to see first hand what the process looks like. It seemed like high time I did a bit of research and understood the whole thing better.
A quick survey of the bread making books that I have at hand (James Beard’s Beard on Bread, Elizabeth David’s English Bread and Yeast Cookery, and a book on French baking I like by Laurent Morel called, somewhat windily, Pains, Viennoiseries et Tours de Main de Fond de Petrin) yielded almost no information about how to make a sour starter. But I was thumbing through a book that a friend had by recommended for its nutritional insights and found a discussion of making a sour starter from rye flour (The book is Nourishing Traditions by Sally Fallon and I recommend it…its recipes for handling grains and beans seem particularly good and each recipe I have tried so far has been successful. I especially like her suggestion that all legumes be soaked overnight with a little yogurt. I find that this yields beans with a creamy interior and tender skins). The method was easy so I thought “why not give it a try and see how it turns out”.
Evidently, rye flour is often used for starters because it ferments more easily than wheat flour. The basic method is as follows: organic rye flour and water are mixed in proportion to give a loose, gruel-like mixture. This mixture is left in a warm place overnight. Then more rye flour is added the next day along with enough water to return it to the same gruel consistency. This process is repeated 6 times for a total of 7 days (first day mixture plus 6 additions). At the end of seven days, the yield is enough sour rye starer to make 2 loaves of bread and enough starter left over to begin a new batch. This next batch of starter will be done in 5 days. And so the process continues, always incorporating part of the starter into the beginning of a new batch and producing enough sour starter for 2 loaves every 5 days. If this seems confusing, I have probably not explained it well; see the my recipe for complete and easily followed instructions.
It is in experiments like this that my training as an engineer really comes in handy (or comes back to haunt me, depending how you look at it). As a cook, I tend to be more “America’s Test Kitchen” than “Iron Chef”, that is more of a “methodical process” guy than a “through a bunch of stuff together in 45 minutes sort of guy”. It s all those physics labs, know what I mean? Anyway, I started a batch using Fairhaven Mills organic whole grain rye flour, which comes from Bellingham WA. As I said, the process is easy, it is the waiting 7 days to make bread that is hard.
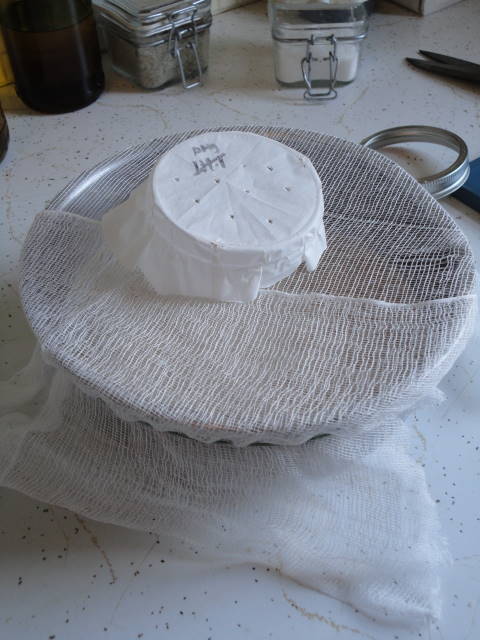
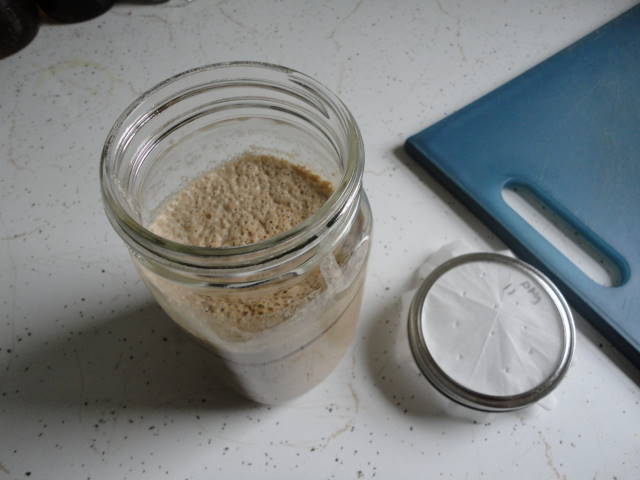
I won’t go through a fully observed lab report on the process, but have included some photos to give an idea of the process.
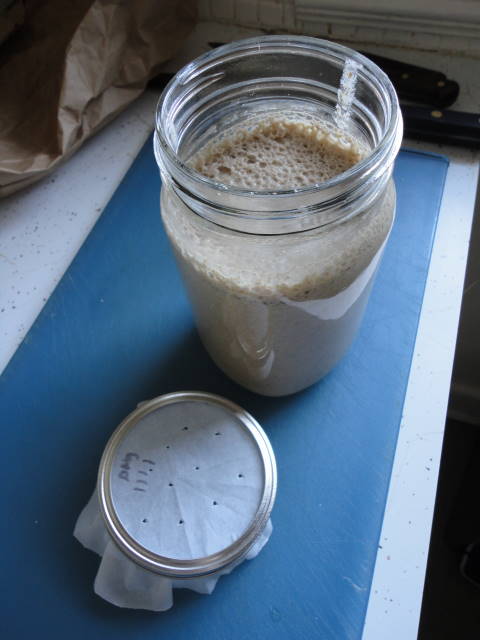
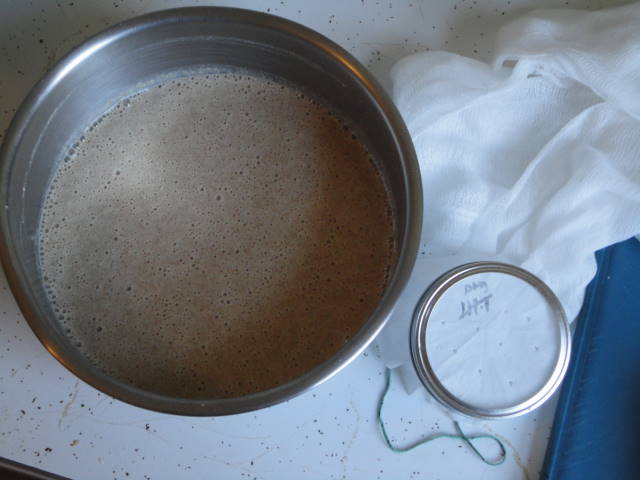
At home, I have an old Magic Chef gas range/oven, the kind that has a storage drawer next to the oven. I kept my starter in this drawer each night, as it stays pretty warm just by virtue of the pilot light in the oven. The results were gratifying: fermentation started the first night, and was full blown by about the 4th morning. By the end of seven days, I had about 1.5 quarts of foamy, distinctly sour tasting starter. Now to find out if it will actually make bread rise.
To test this out, I gave my starter a pretty steep challenge: to leaven my favorite whole wheat and seed bread recipe. This bread has a heavy dough and is rich with seeds so it need some serious raising power. I am pleased to say that my sour starter was up to the task, although the raising time was considerably longer than it would have been with yeast. The bread rose well and the starter added a sour edge that works well with a hearty bread.
The main difference between using the sour starter and using yeast was the time for the bread to rise. I let the bread dough rise in my oven with only the heat of the pilot to warm it. With a yeasted dough, the warmth of the oven would have cause vigorous rising and a dough that would double in size in about 2 hours. In fact, when using yeast with thsi recipe, I usually let the dough rise a room temperature or even retard the rise by putting the dough in the fridge, to give the finished bread a more complex flavor. With the sour starter and the dough in the oven, the time required for the dough to double was much longer, about 4-5 hours. Again, this is probably a good thing for the flavor of the finished bread.
The actual process for making this bread is a story unto itself. I have included the recipe and will add a full blown post on the process soon.
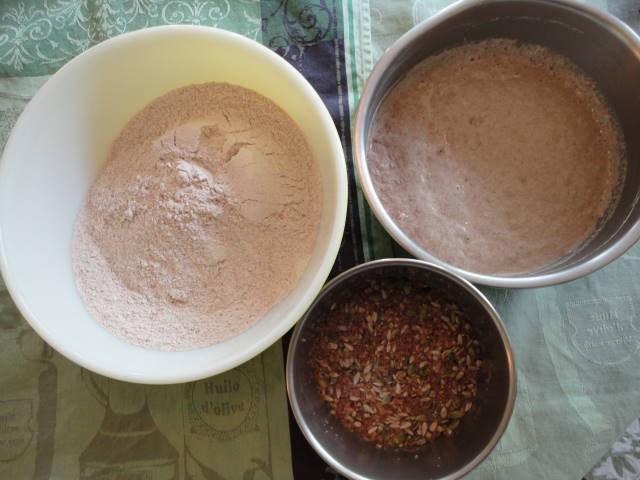
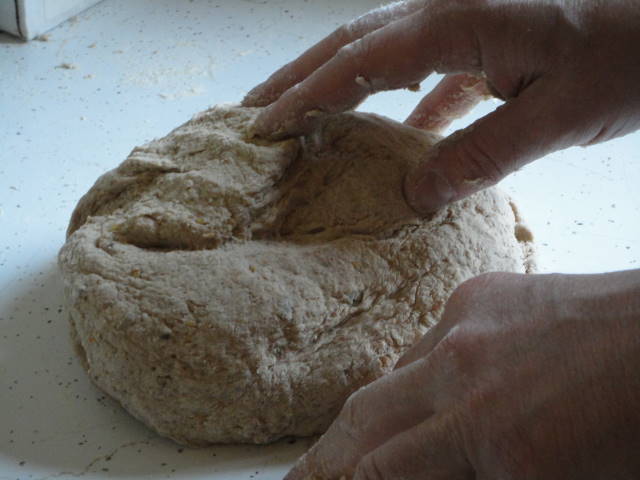
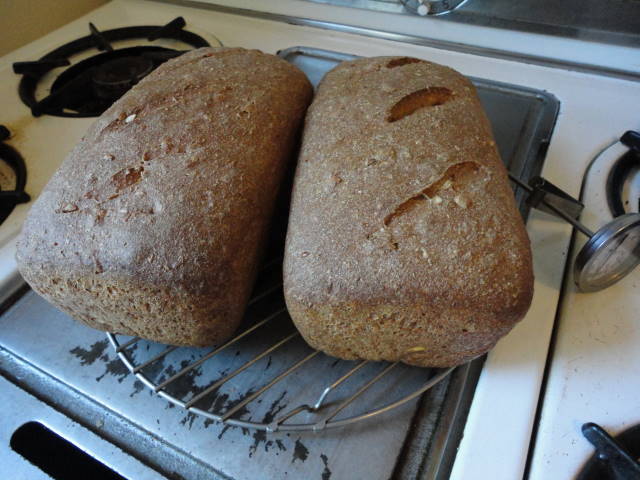
To make two loaves of my whole wheat seed bread required 1 quart of the sour rye starter. That left 1/2 quart of starter to begin a new batch. Again, each day, rye flour and water are added in roughly equal amounts to maintain the consistency of the starter. In 5 days, the starter volume is again about 1.5 quarts and ready to be used for another batch of bread. I have used the same starter to make bread so far 3 times, feeding it back to 1.5 quarts in between batches and each time my bread has risen successfully.
On one point the recipe I used for this didn’t seem to work, that being the cold storage of the starter for an extended period of time. In her recipe, Sally Fallon says that if you want to store the starter instead of using it, you can keep it in a sealed container in the refrigerator. This seemed like an important point, given that around my house, we don’t usually eat two loaves of bread every 5 days. So I tried this out by leaving 1/2 quart of starter in the refrigerator sealed for about 2 weeks. I then tried to re-start it, by bringing it back to room temperature and feeding it with rye flour and water. No luck. The next morning it had a thick coat of blue mold on the top. I threw it out. It is possible (or probable) that I missed some trick or did something wrong, but further experiments or a talk with an expert would likely be required to find out.
So there you have it…sour starter is not really a mystery. Its easy and adds an interesting note to bread recipes. But I still can’t figure out how the pioneers carried a starter around in their saddle bag.
